
Homemade Fresh Fried Shallots (Hanh Phi)

Oh fresh fried shallots! How do I love thee? Let me count the ways….Fried shallots are an essential part of Vietnamese cuisine. They are used on so many different dishes, and they add another level of taste that completely transform a Vietnamese dish from amazing to spectacular. Every time my husband sees fried shallots anywhere (on tv, or in person), he’ll say “hey! it’s you!”—as if I’m a living and breathing fried shallot? LOL. Aside from making fried shallots for my favorite Vietnamese dishes, I love using them everyday meals too—sprinkled on top of steamed wontons, tossed on a refreshing salad, even on some creamy mashed potatoes. Fried shallots are everything. I pretty much make them on a weekly basis. The reason why I choose to make my own (and refrain from purchasing them in a jar from the supermarket) is because 1) I love the taste so much more. There is a slight sweetness that doesn’t exist in the readily available ones at your local Vietnamese grocer, and 2) If I can avoid eating something that involves preservatives, I will do it. My diet isn’t perfect, but I’m super conscious about what I put in my body, and will do what I can to minimize ingesting foods with preservatives where I can. There are so many recipes out there, and I get overwhelmed trying to read them to compare to my own, so I don’t. I feel like people make it more complicated than necessary. Understand that it will take you several tries before you get it perfectly right, but if you make it often enough, you’ll be able to do it naturally and quickly, without even thinking about it (eventually). Some tips I have before you get started:
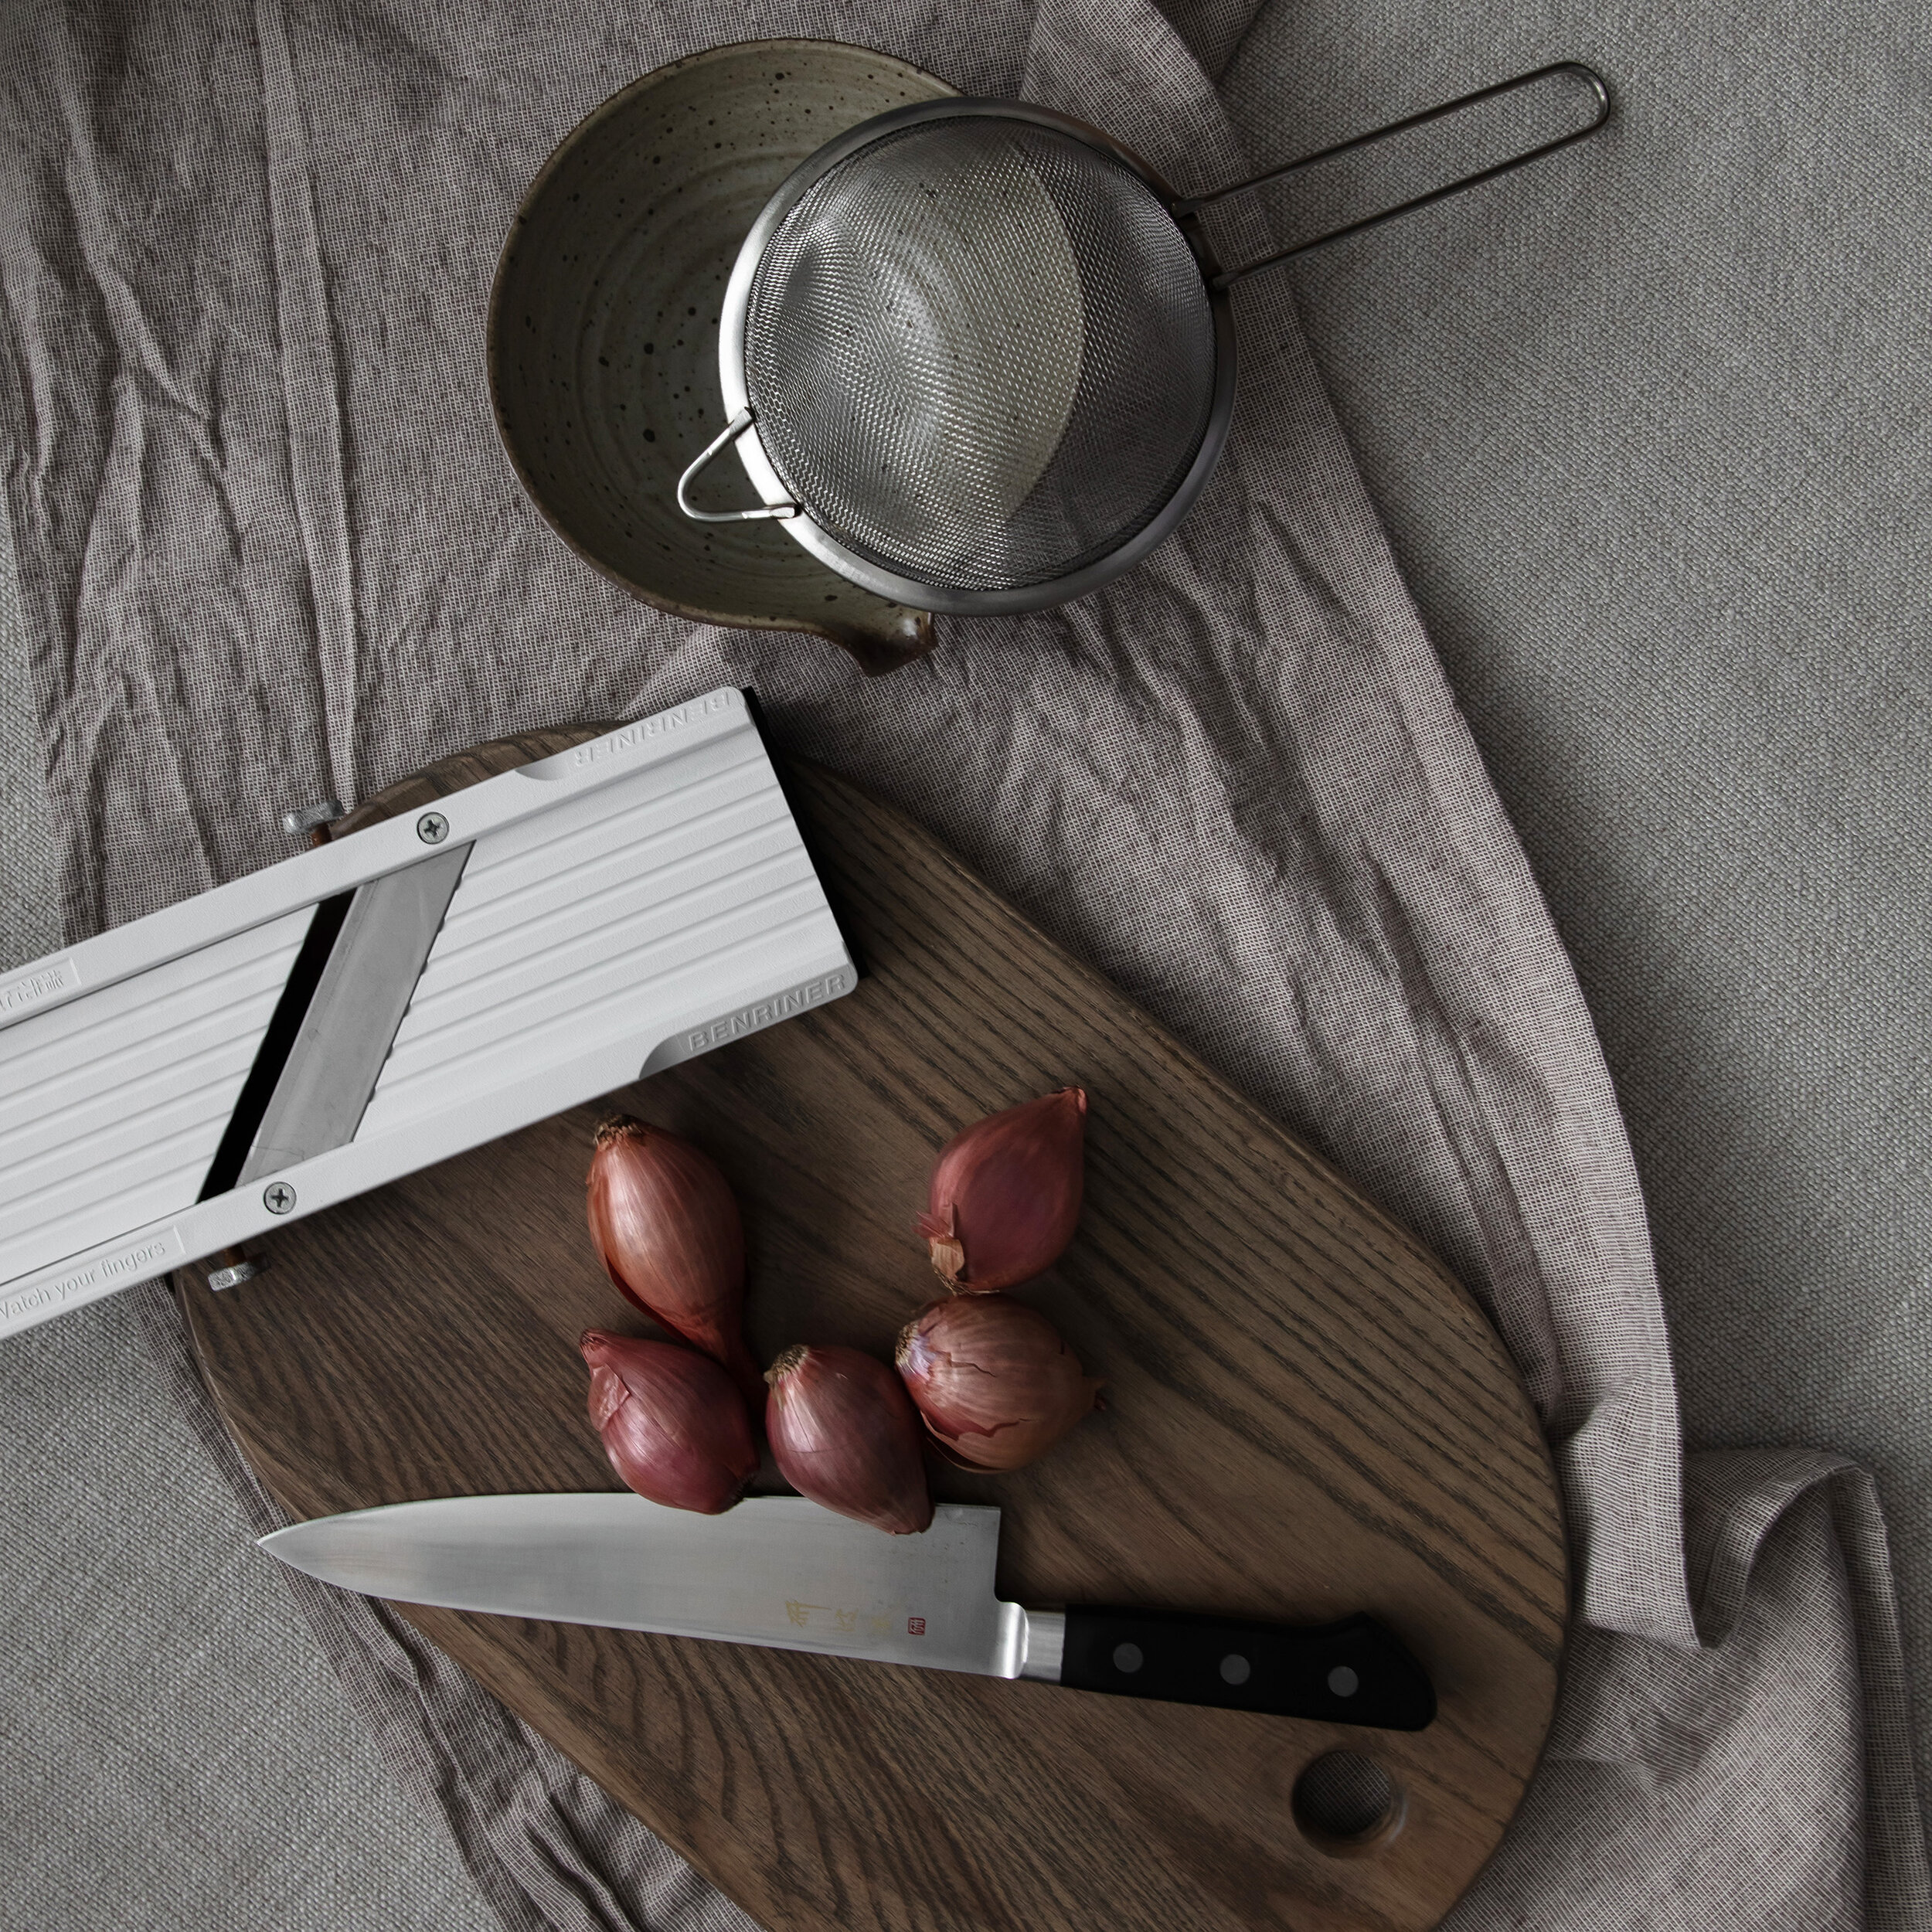
Purchase a Japanese mandoline slicer. It is useful in so many ways, and will provide a precise and consistent slice, so that your shallots cook more evenly. I use my mandoline for so many things—not just for slicing shallots (there are a variety of blades available for different functions). I love my Benriner brand mandoline. It is a great investment, and costs an affordable $40. If you don’t have a mandoline, thinly slicing with a knife will do. Just try to slice as consistently as possible (you want it to be between 1/16” - 1/8” thin)
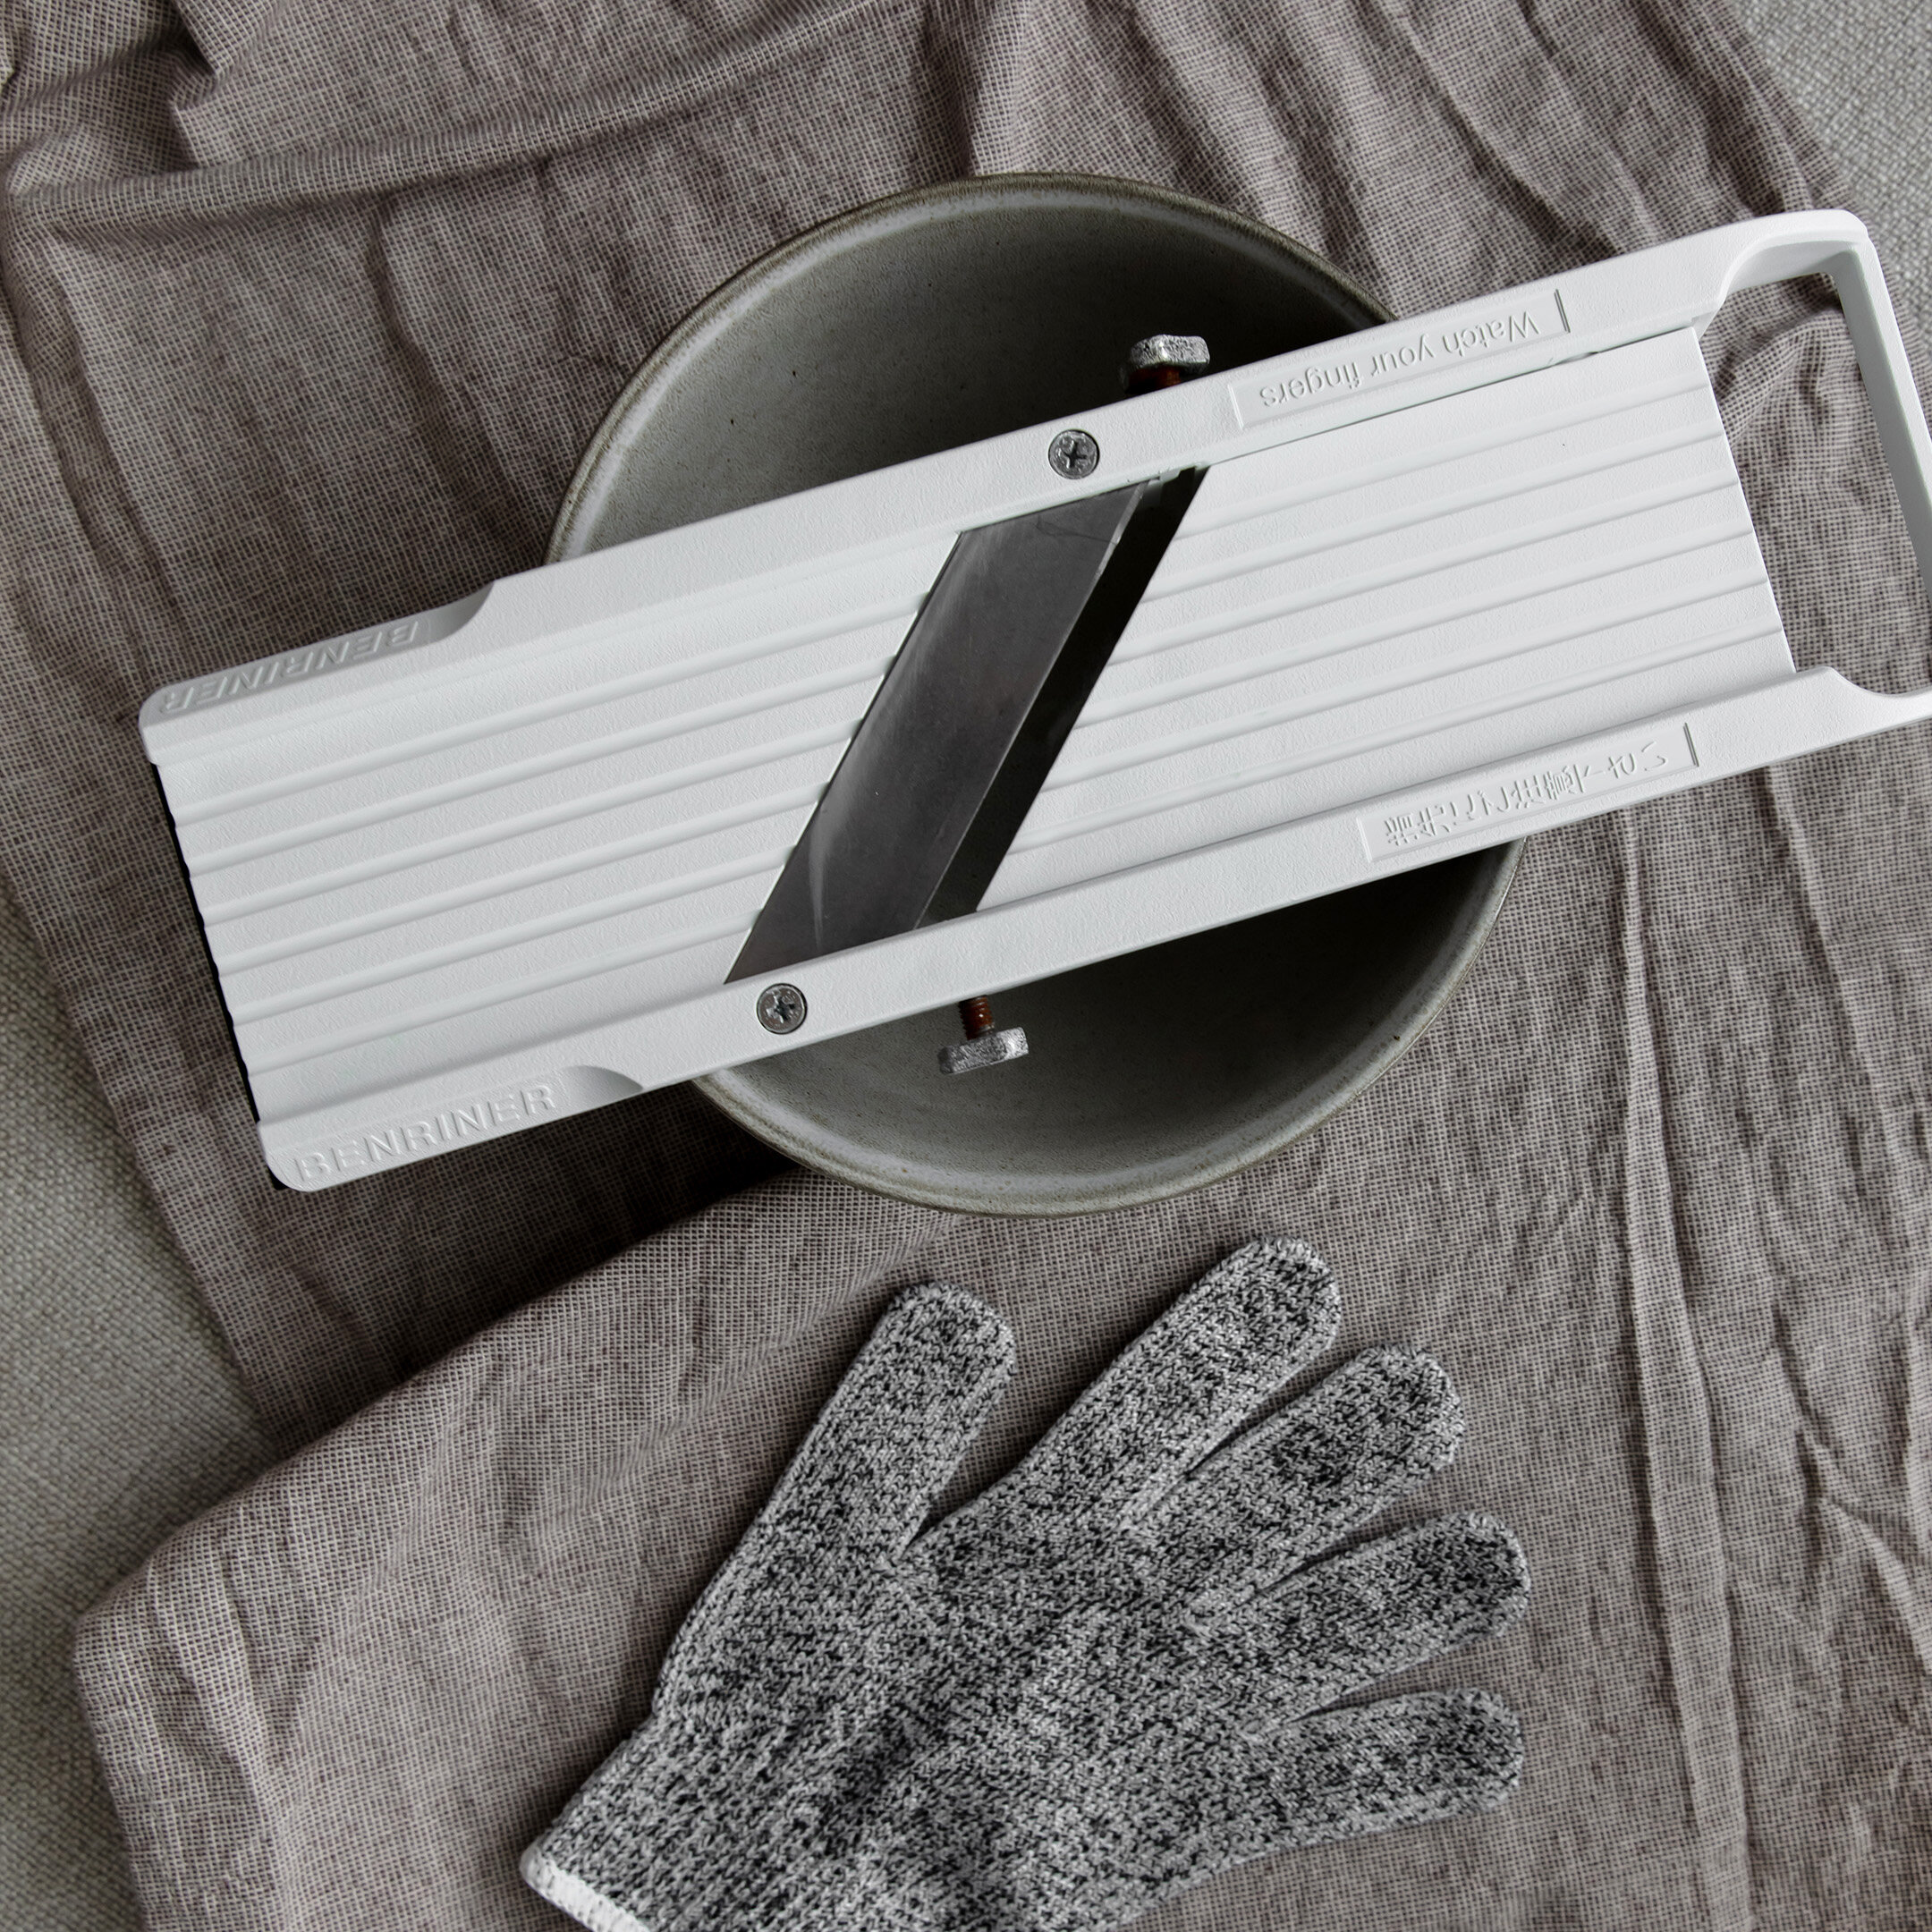
Speaking of using a mandoline, purchase cut resistant gloves (see photo below)! These are amazing, and actually also useful for other tasks, like shucking oysters, for example. I use these gloves with my mandoline, and can slice quickly and briskly without fear of injuring myself. It makes prep time so much faster.
Many recipes say that you should dry out your shallots, or microwaving to remove moisture from them before frying. I don’t find this step necessary. My easy technique makes crispy fried shallots that stay crispy for a week. Now there are some times where I will pre-slice them, and leave them the fridge overnight for a day or two. In the process they will lose a little moisture that way and come out more crispy, so that’s an option (I do this to cut down preparation time on the day of cooking a specific meal).
I’m not providing a specific time frame for cooking, as it really all depends on the power of your cooking range, among other factors. Typically my batch will take about 16 minutes to cook. Simply monitor your shallots, mixing every few minutes over medium high heat. Make sure the oil covers just the top of the shallots, and nothing more. I don’t like using a thermometer when cooking—that’s when it gets a little too technical for me. I believe in monitoring and eyeing things. It’s all about the cooking experience, and allowing your skills to evolve naturally, rather than trying to get it perfect every first/second/third time.
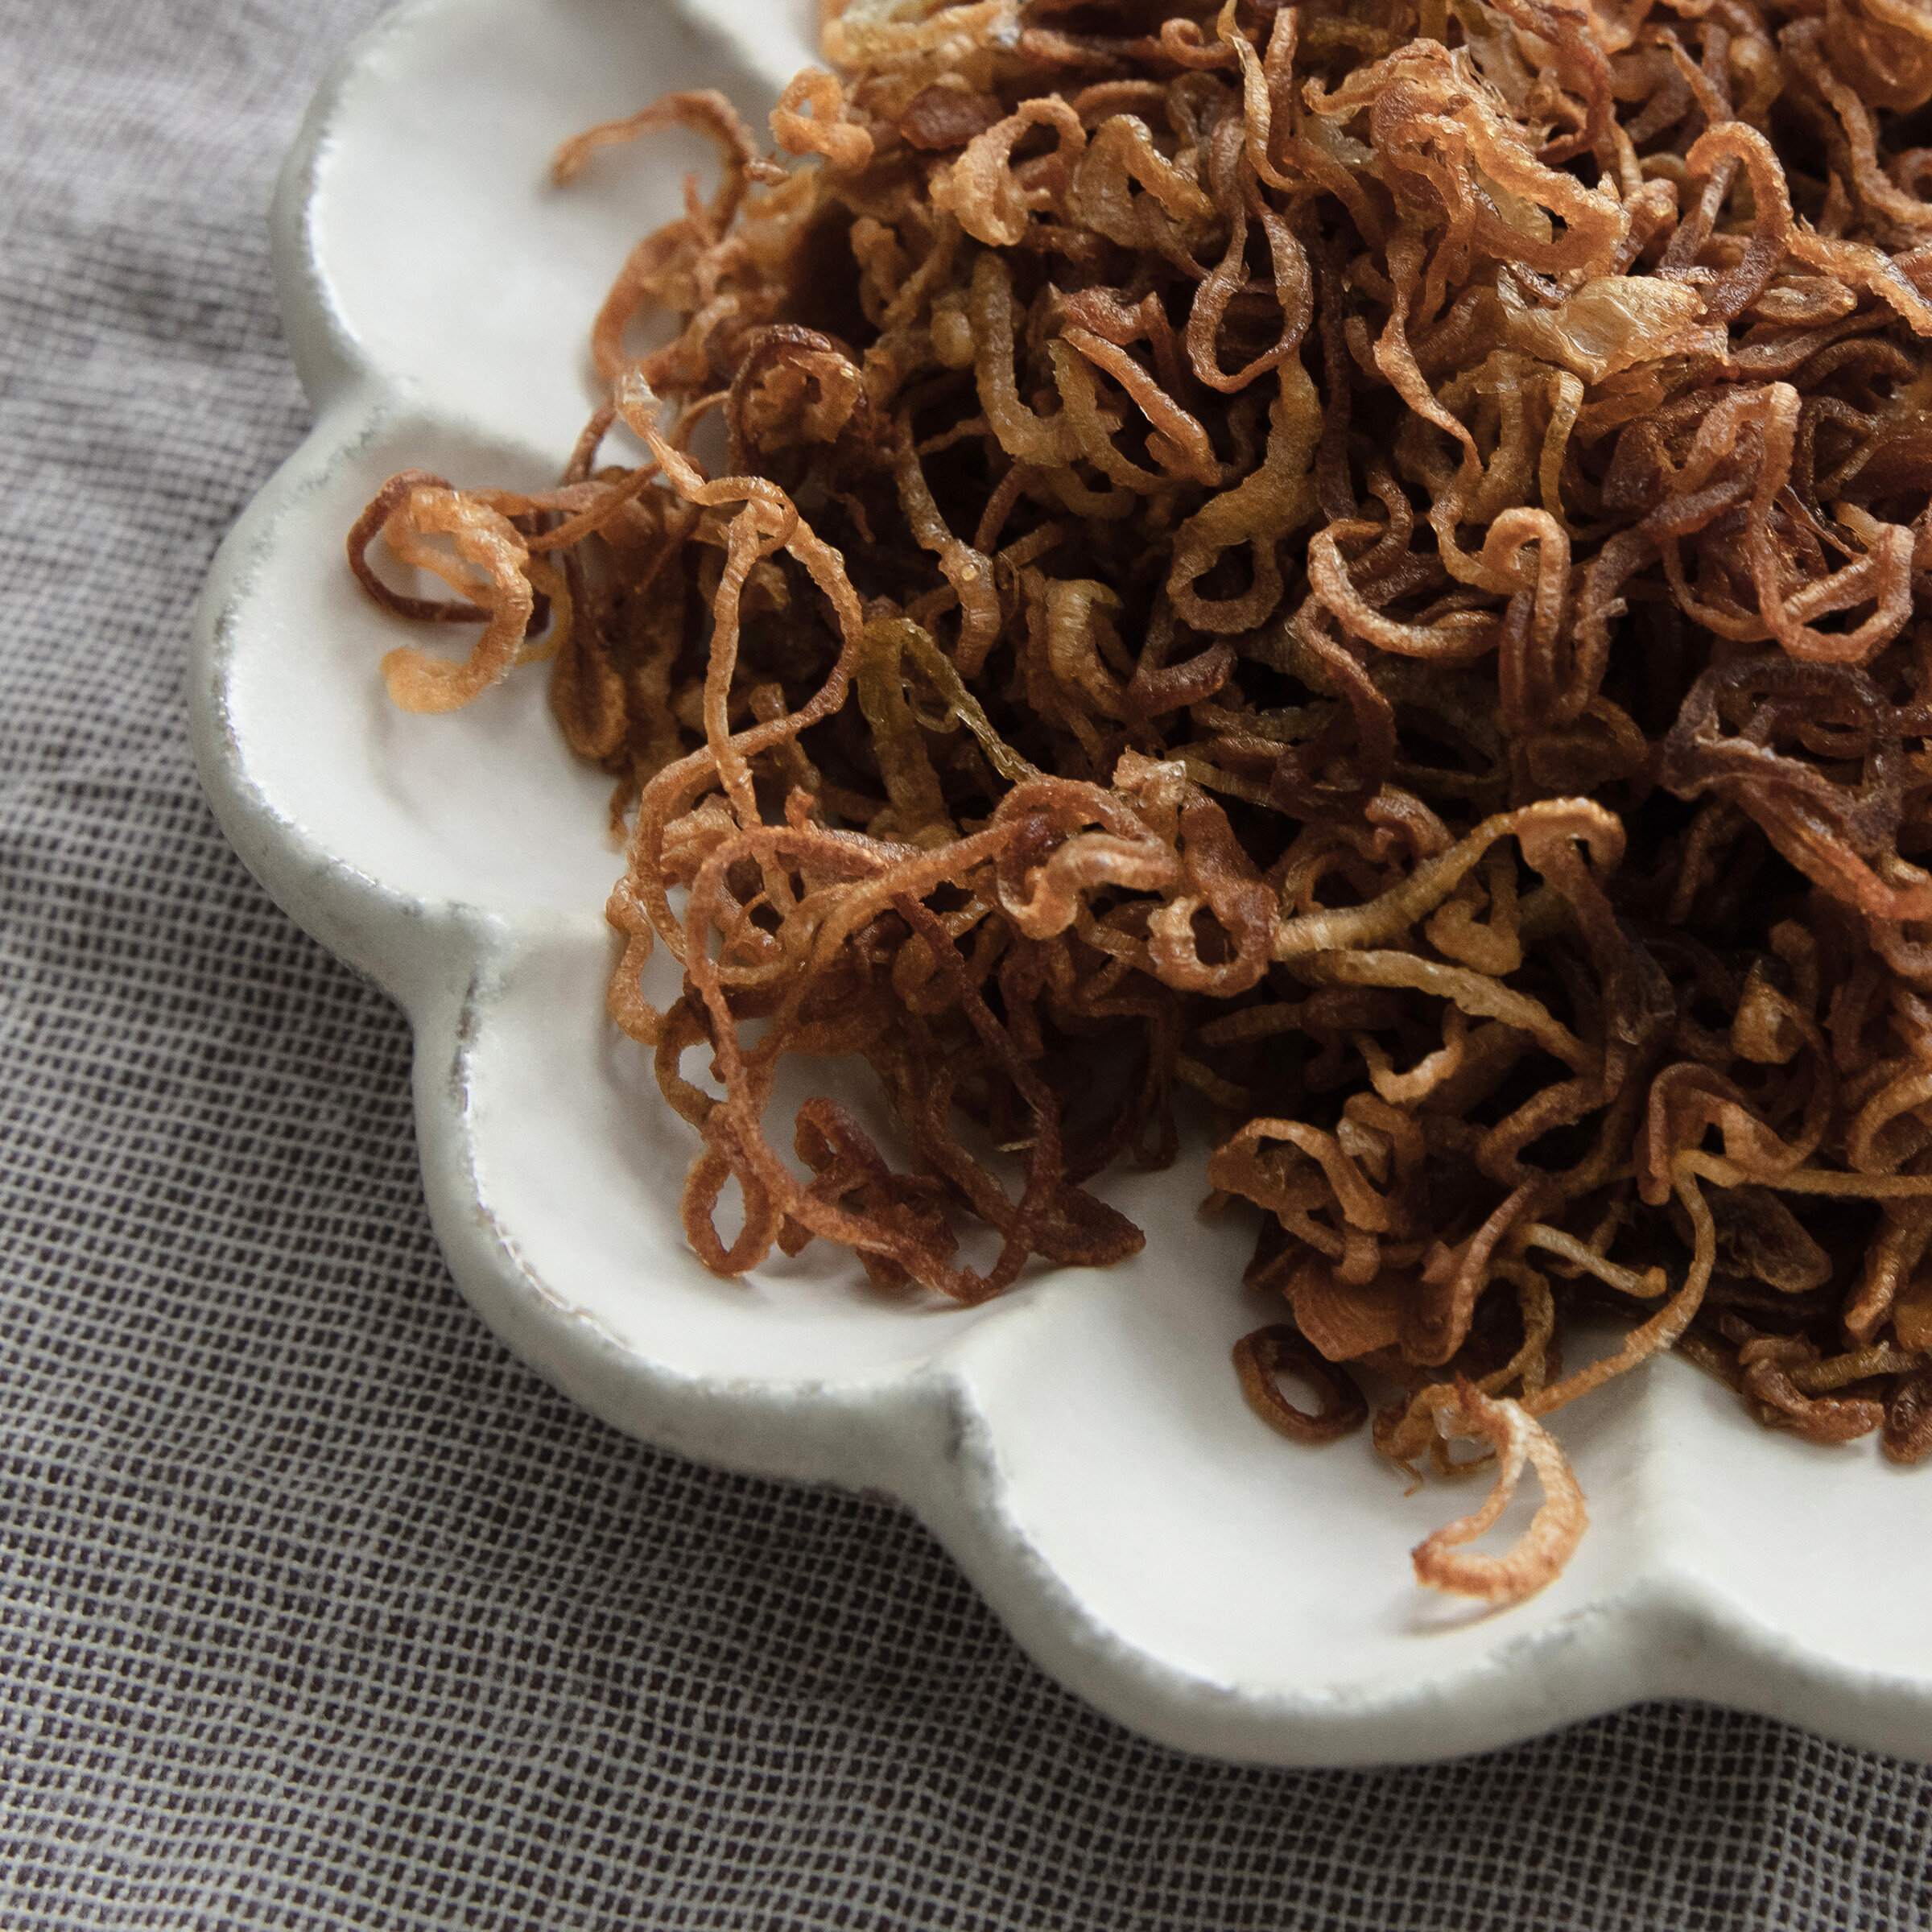
It is very easy to overcook them, which is why monitoring is key. Overcooking them will make for a bitter taste, and undercooking them will turn out a less crispy result. You have to get that middle of the road medium-golden color. And remember that it may take you several tries before you get it right, so be patient with yourself, and don’t be upset if you do it wrong the first few times.
Once it reaches that perfect medium-golden color, immediately turn off the heat and strain, because the batch will continue cooking if you leave it in the oil. Fried shallots are time sensitive.
HOMEMADE FRESH FRIED SHALLOTS (HANH PHI)
Degree of difficulty: 2 (on a scale of 1-5)
Preparation time (15 minutes to peel and slice)
Cooking time: Roughly 16+/- minutes (depending on various factors); Monitoring is key.
YOU’LL NEED
A mandoline slicer (I prefer Benriner brand Japanese mandoline slicer)
2.5 qt saucepan
A heat safe bowl (I prefer to use one with a spout, for easy pouring for later use)
A strainer
INGREDIENTS (makes about 1 full cup of fried shallots)
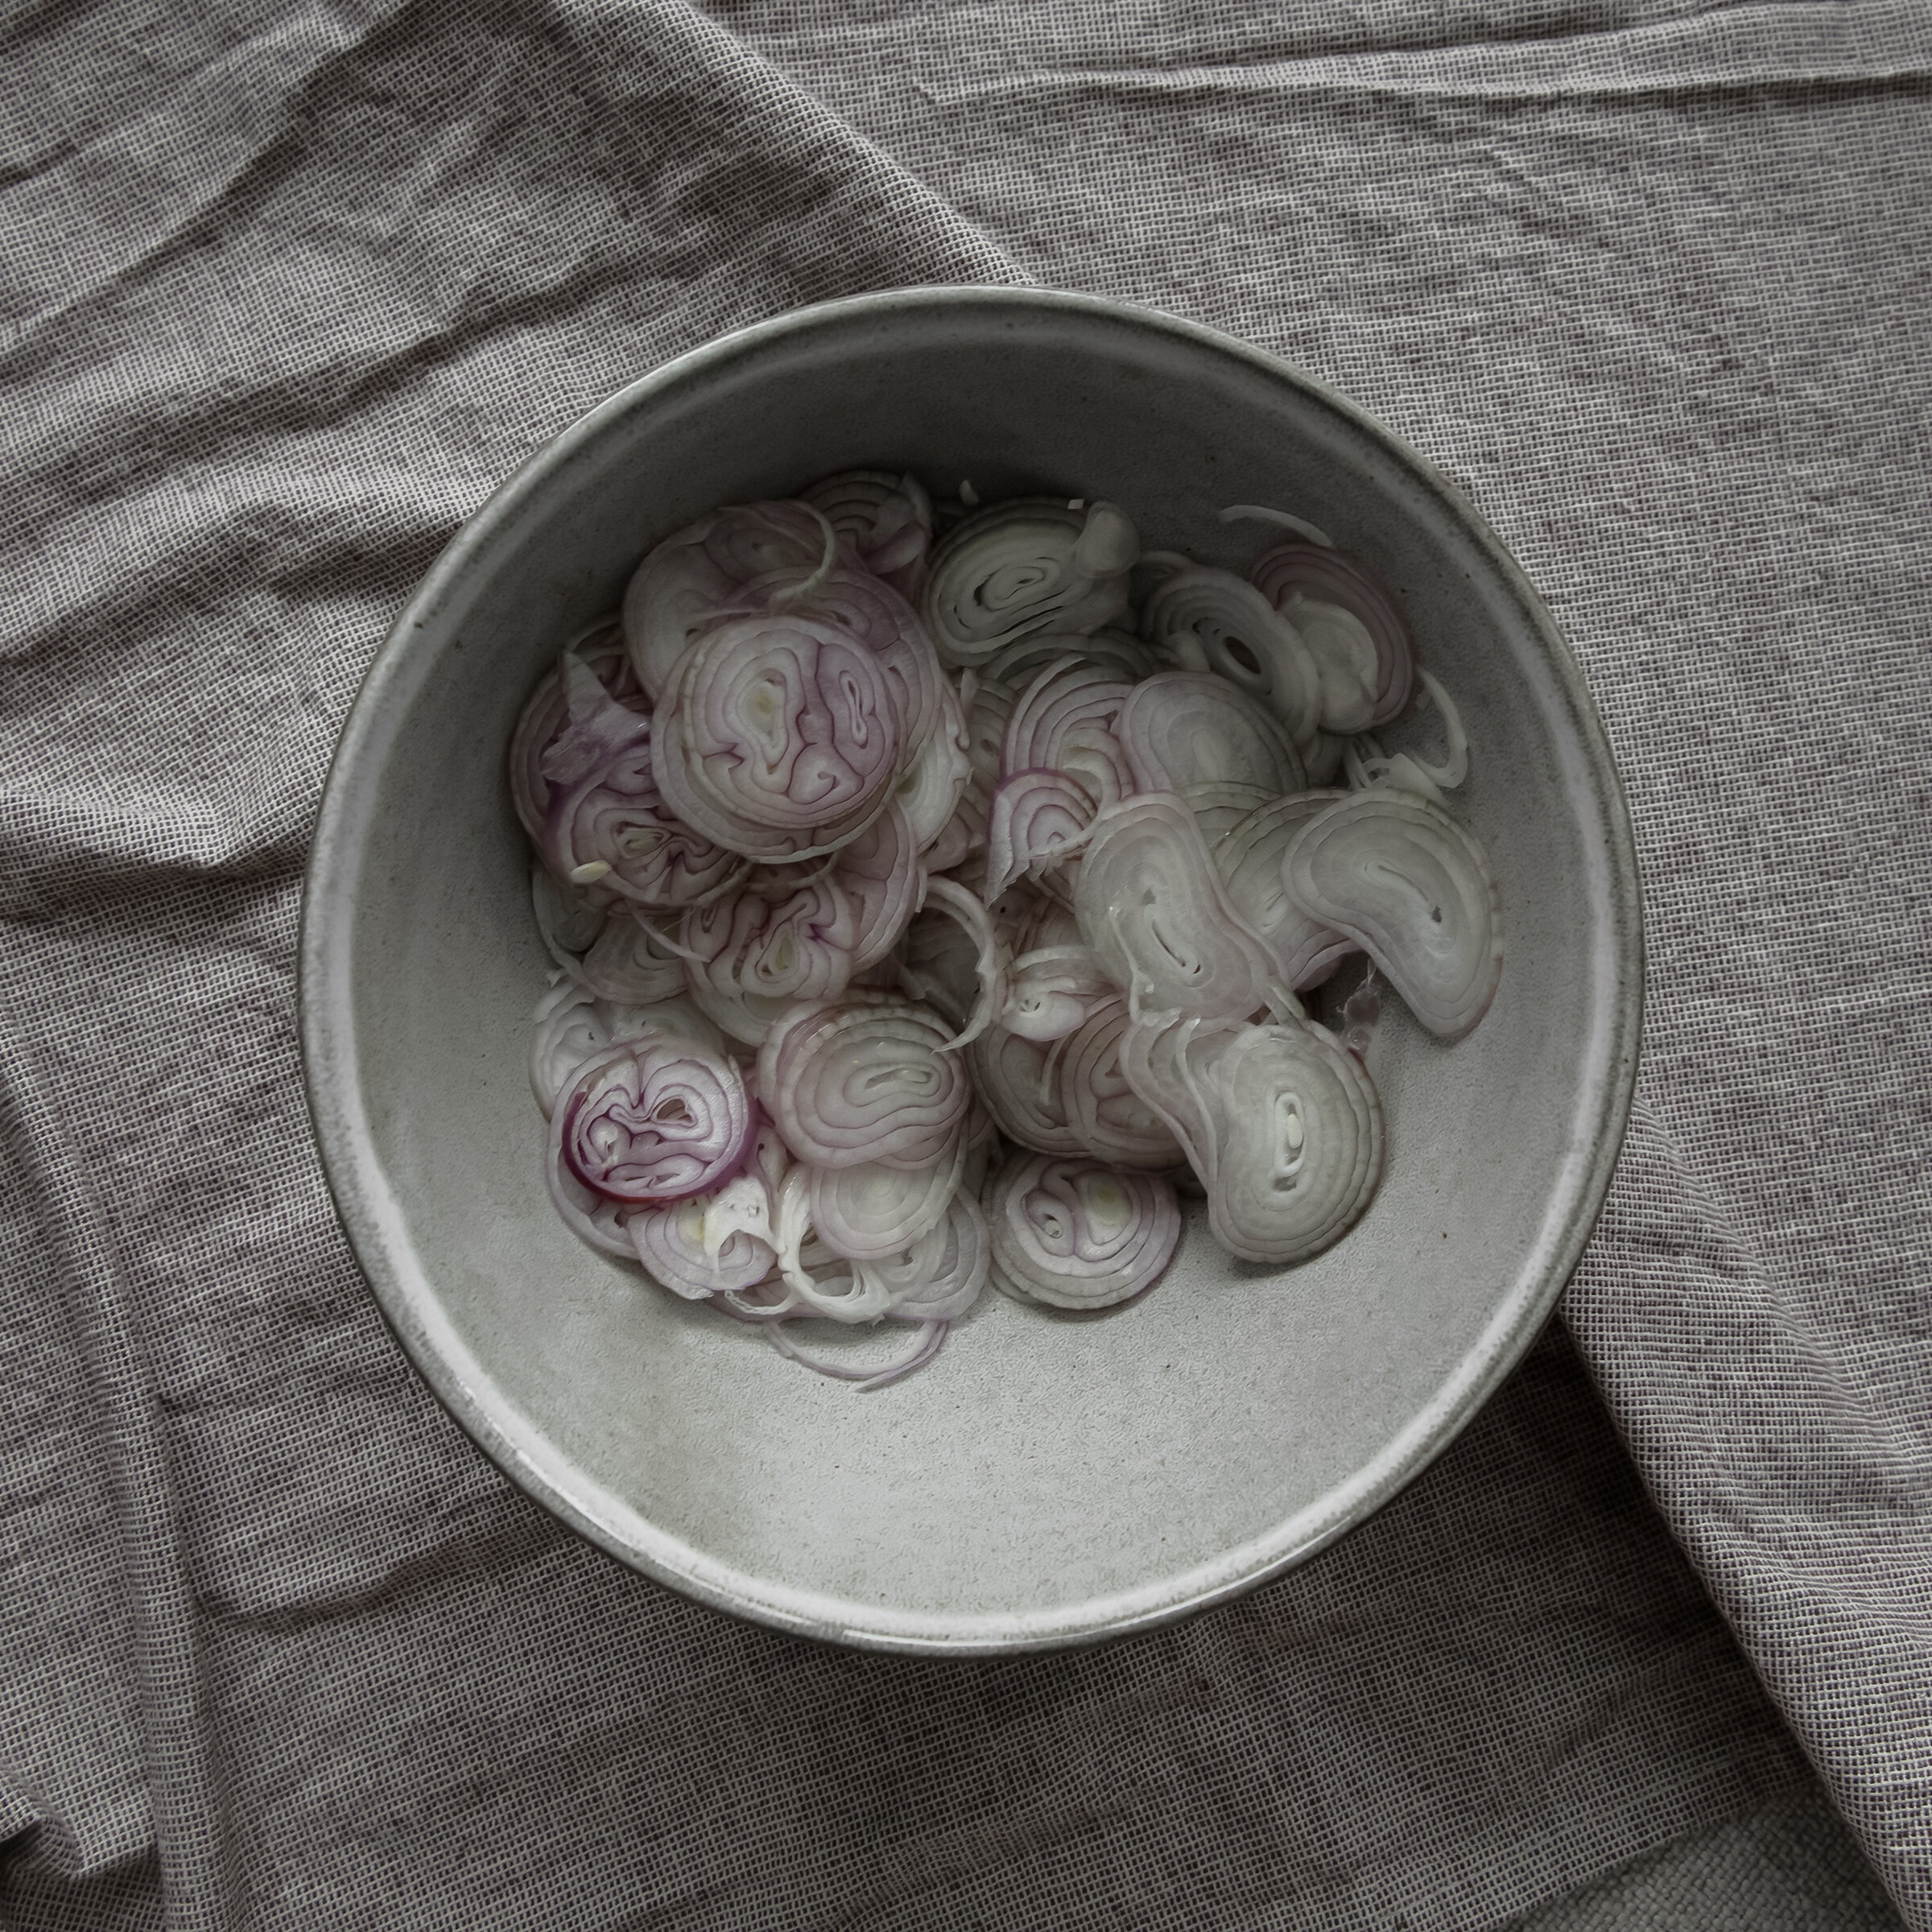
2 cups of thinly sliced shallots (5-6 medium sized shallot bulbs, peeled, and very thinly sliced )
1.5 cups of high temperature, neutral cooking oil, like safflower (my preferred oil) or grape seed oil. These two oils give off a better tasting fried shallot—it’s a lightly sweeter taste profile that I prefer and recommend.
DIRECTIONS (cooking time = roughly 15-16 minutes)
Heat up 1.5 cups of neutral cooking oil on high heat in a 2.5 qt saucepan (or similar). Allow about 4 minutes for it to begin pre-heat and begin shimmering. Once it is shimmering, you’re now ready to add your shallots.
Add in your sliced shallots, and use chopsticks or a spoon to evenly distribute the shallots throughout the saucepan. The oil should cover the shallots just at the surface.
There are many factors that determine how long you should fry the shallots. Everyone’s stove is different, whether it be electric or gas. I don’t cook with a thermometer (makes things too complicated and uptight), but rather I will monitor the shallots while they are cooking. You can leave them alone for about 10 minutes, but once you reach that ten-minute mark, you’ll want to begin monitoring your shallots. Every few minutes (after the ten minutes), use your chopsticks or a spoon to stir the shallots up so that they will all cook evenly (since different parts of the pan may cook faster). Continue doing this until your shallots are a medium-golden brown. Mine tend to take about 16 minutes, give or take. Turn off the heat, and immediately strain the shallots, pouring over a heat safe bowl using a strainer to gather the shallots.
Transfer the contents of the strainer over to a bed of napkins, and make sure to spread the shallots out, so that the oil is absorbed well.
5. Allow the shallots to cool before eating, or transferring to an airtight jar.
ADDITIONAL NOTES
*The shallots can be eaten up to a week from day of cooking.